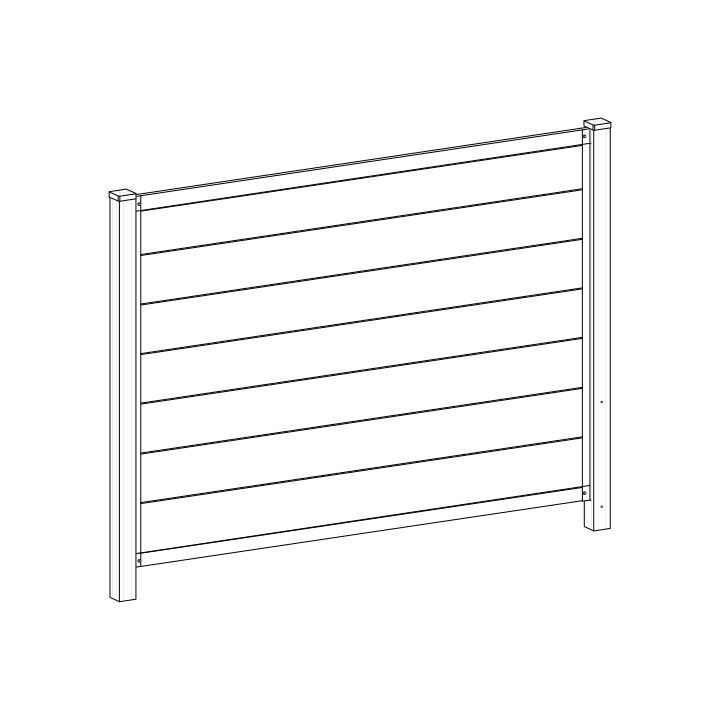
Edgewood 4ft Privacy Fence
Before You Begin
- Before driving pipe anchors, check for underground utilities. In the US, call 811 or visit www.call811.com. In Canada, visit www.clickbeforeyoudig.com to find your provincial one-call centre.
- If installing surface mounted, refer to your Surface Mount install guide (BL19131/BL19132) for specific instructions instead of the steps below.
- If your yard slope exceeds 3–4in per 6ft panel, you will need to split your panel and purchase an extra post and set of brackets.
- This panel does not include posts. See the Posts section below to order your post kits.
Returns: Please let us help resolve any issues before initiating a return. If a return is still necessary, it must be initiated with the retailer where the product was purchased.
Need Help or Replacement Parts?
Our US-based customer service team is available Monday–Friday, 9am–5pm EST.
- Parts Website: https://parts.nychbrands.com
- Email: hmmm@wambamfence.com
- Phone: 704-892-5222 or 877-778-5733
- Text: 704-892-5222
For faster service, have your item number (BL19117/BL19118) and part name ready. A batch lot number (found on the end of the box) is also helpful if available — it helps us identify and resolve any production issues on our end.
Posts: BL19127/BL19128
Buying Guide
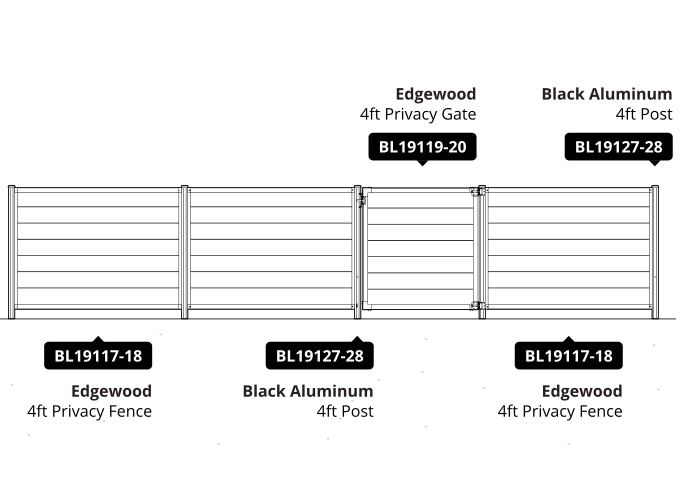
4ft Edgewood Privacy Fence Walnut Brown/Slate Grey, 4ft Edgewood Gate Walnut Brown/Slate Grey, and 4ft Black Aluminum Post 1 pack/4 pack
Product Specifications & Dimensions
Important: Know What's Underground
Important: Check for underground utilities before you start driving your pipes!
In the US, call 811 or visit www.call811.com. In Canada, visit www.clickbeforeyoudig.com to find your provincial one-call centre.

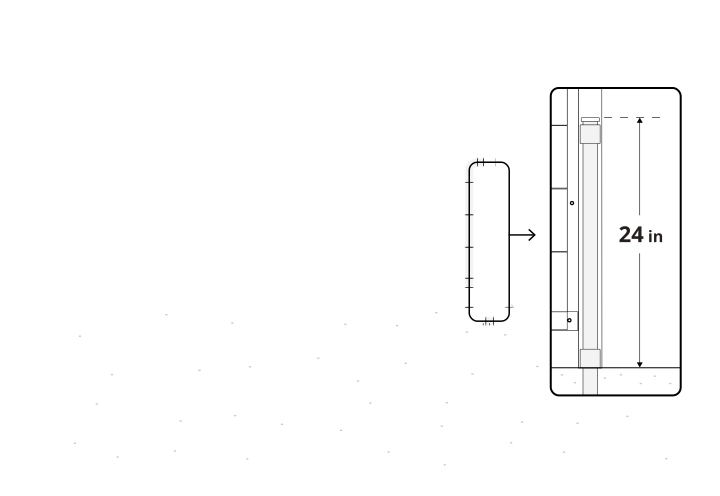
Post Pounder Considerations
Pounders can be purchased or rented at your local hardware store, or on our website.
Good
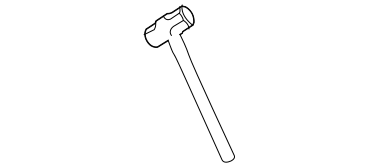
Sledgehammer
10–15lbs.
A basic option for very small projects. Requires two people to keep pipes level during installation.
Better

Manual Post Pounder
12–30lbs.
Best for projects with fewer than 10 pipes. Available at your local hardware store.
Best
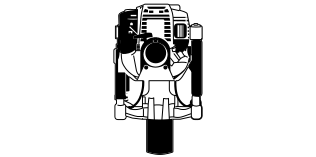
Gas Powered Post Pounder
Rentals are ideal for larger projects. Significantly reduces time and effort required.
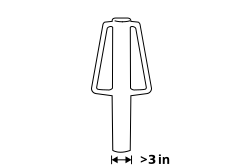
Note:
Choose a post pounder with a barrel diameter of 3in or greater. Pounder barrel cannot be longer than 24in.
Tip! Don't use a 5lb sledgehammer — it won't generate enough force to be effective, and driving the pipe turns into a slow, frustrating grind.
Required Tools
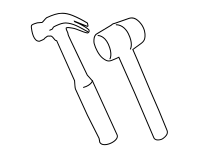
Pounder / Sledge Hammer

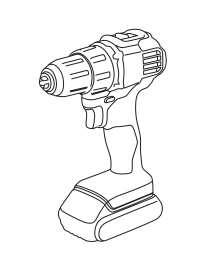
Drill
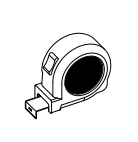
Measuring Tape
Minimum 2in Drill Bit
(included in box)
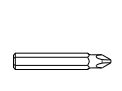
Hex Bit
(included in box)
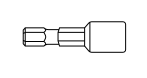
Stringline Reel
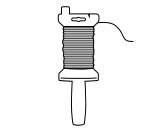
Stakes (for stringline)
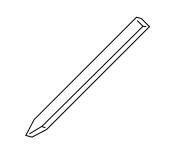
Hammer / Mallet (optional, for stakes)
Pencil
Safety Glasses
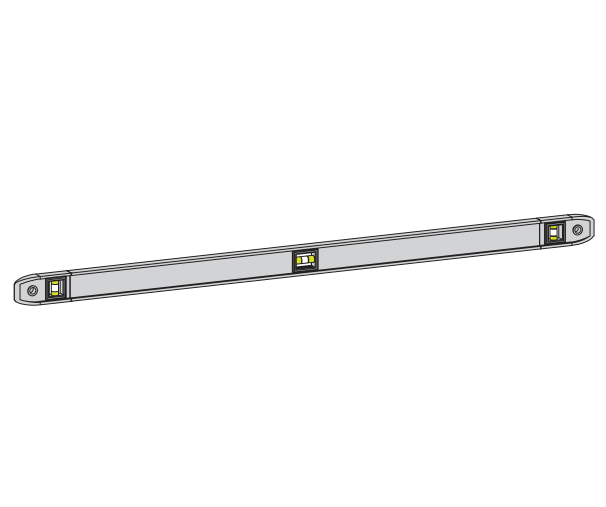
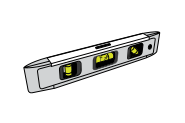
Large Level
Small Level
Power or Hand Saw with a Fine-Toothed Blade

Part Identification
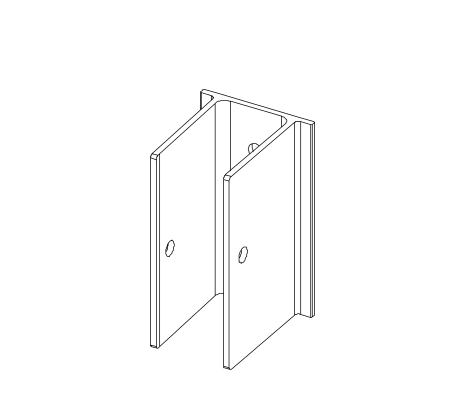
A
Rail Bracket (4)
B
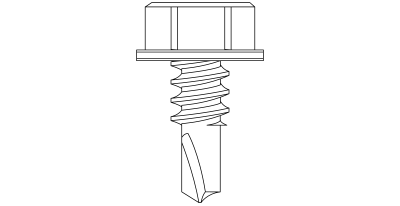
½in Hex Screw (20)
Includes a few extra screws. Hex bit included in bag B.
C
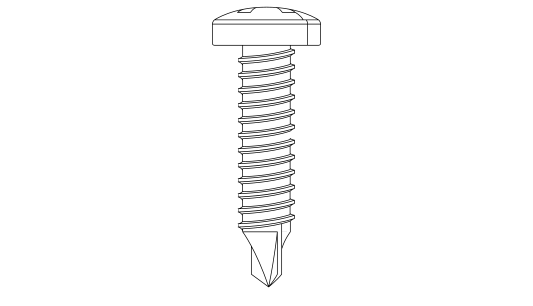
½in Self-Drilling Screw (6)
Phillips bit included in bag C.
D
C-Channel (2)
1⅛in x 1¼in x 46in
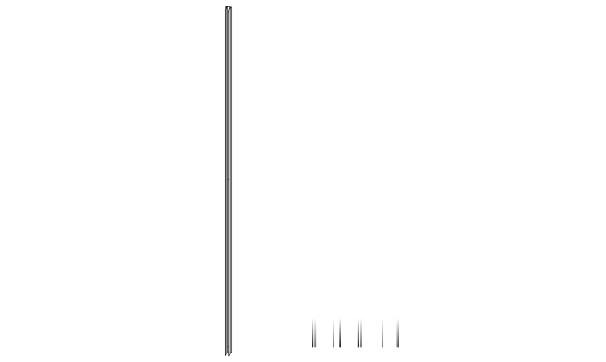
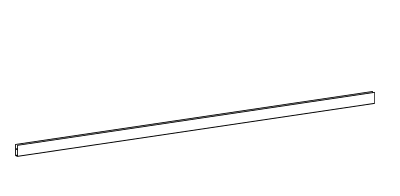
E
Rail (2)
¾in x 2in x 69¼in
F
Tall Privacy Board (3)
⅝in x 13⅞in x 69in
Boards contain galvanized steel inserts
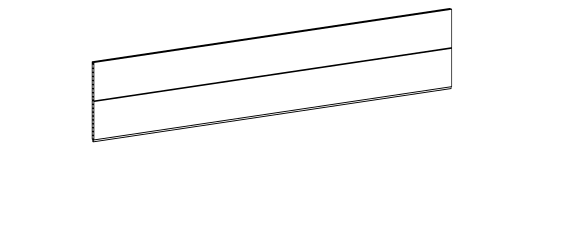
G
Short Privacy Board (1)
⅝in x 7⅛in x 69in
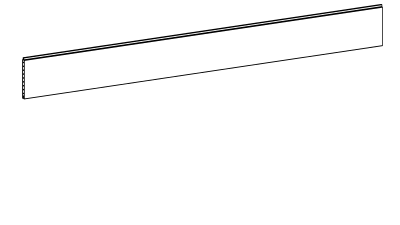
Post Parts (BL19127/BL19128, Sold Separately)
P1
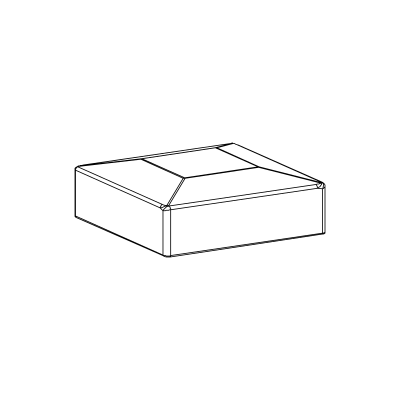
Post Cap (1)
P2
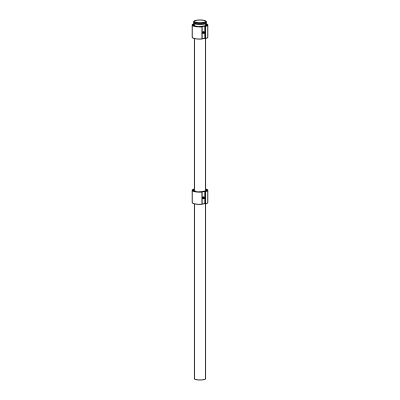
Pipe (1)
1⅝in Diameter x 58¾in L
P3
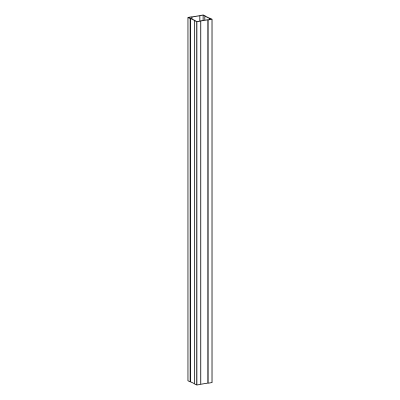
Post (1)
2½in x 2½in x 54¾in
Install Methods
Option A
In Ground
Build one full panel first — there is a learning curve. After one panel is installed, it is most efficient to drive all remaining pipes, then build panels onto the posts.
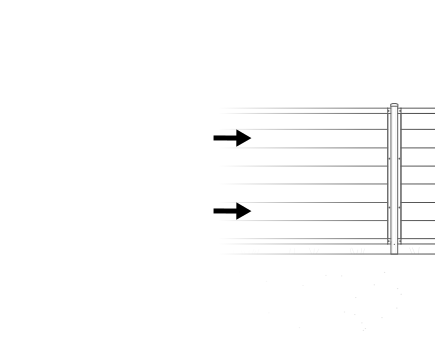
Step 1: Determine Slope
Check your yard's slope before you begin.
If slope is greater than 3–4in per 6ft panel, you will need to split your panel and purchase an extra post and set of brackets.
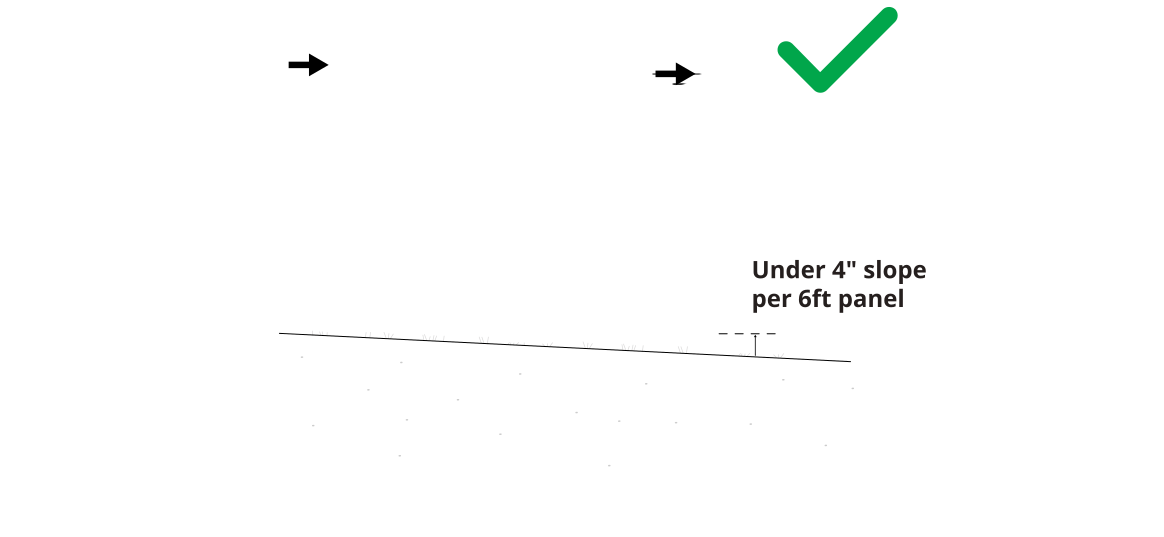
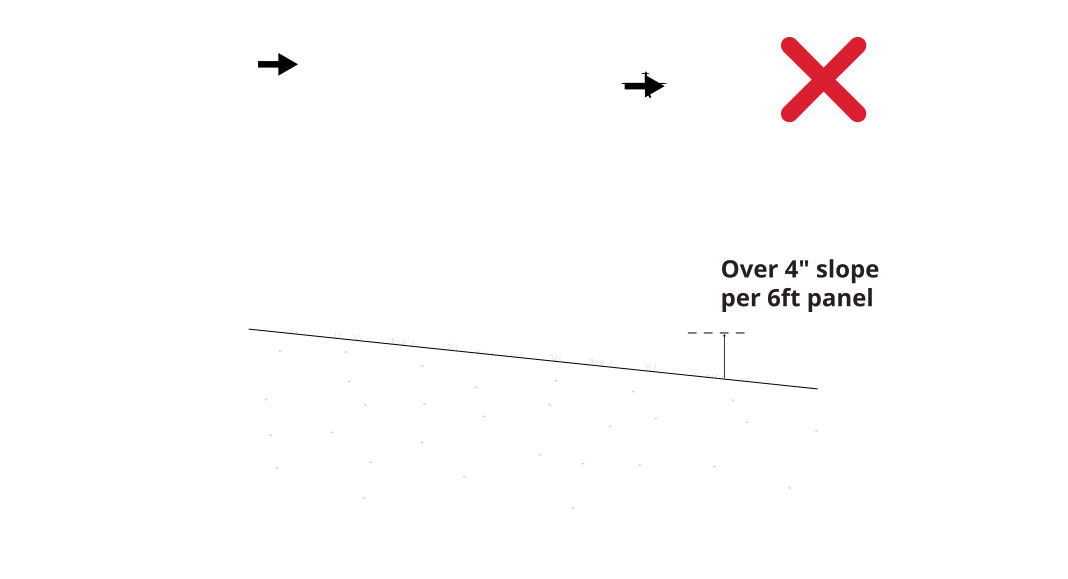
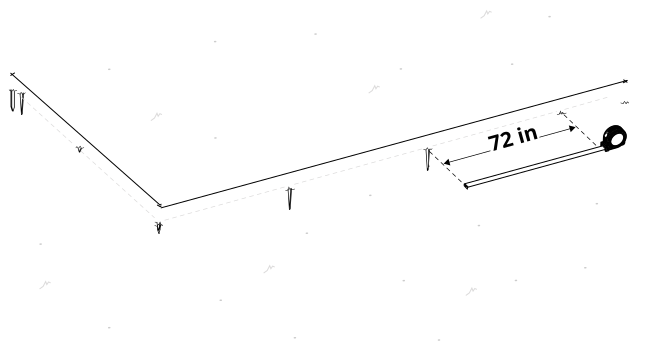
Step 2: Set Stringline
Place the two stakes for each end of every fence run and tie string between the stakes. Your pipes will be driven according to this line. Need help? Watch this video!
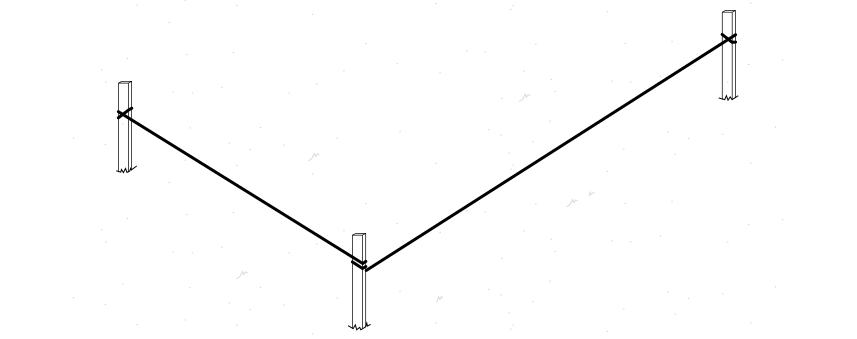
Step 3: Mark Pipe Locations
Use loose stakes or mark the ground every 72in to determine exact pipe locations, measuring center-to-center.
Step 4: Tighten Donuts
Parts Required
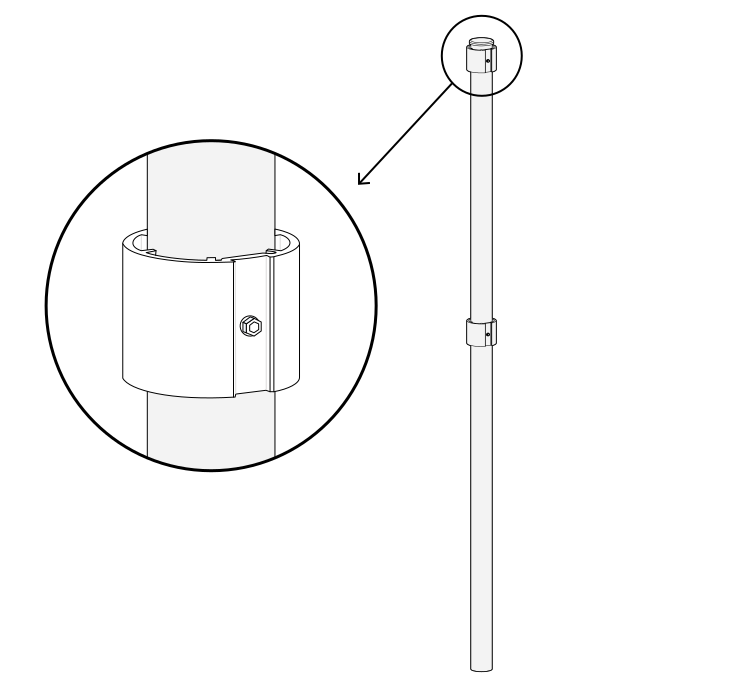
P2 x1
Warning: Before you install your fence, ensure your donuts are tightened. Do not overtighten.
Step 5: Install Pipes
Parts Required
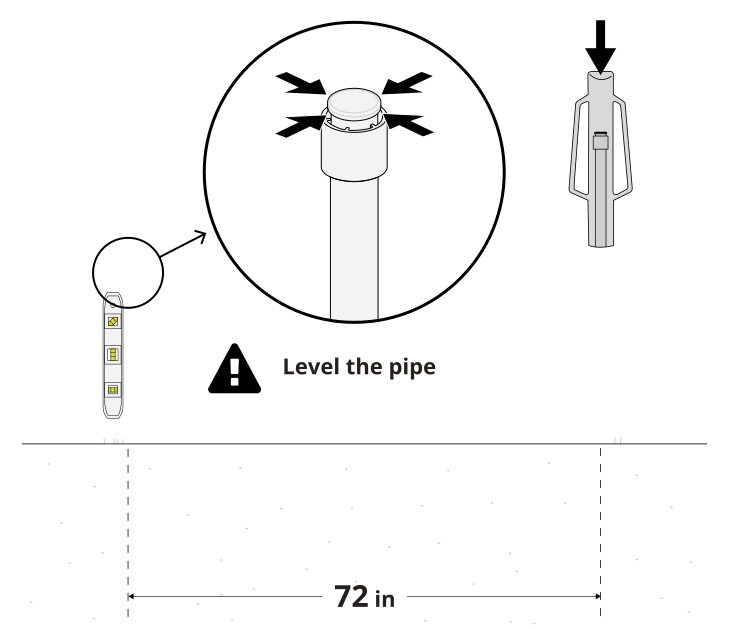
P2 x1
Drive your pipe into the ground. Check for level roughly every 6in. To help maintain level, pound the pipe equally from all four sides until the lower gear touches the ground. Check that the pipe is level front-to-back and left-to-right. Center of pipe to center of pipe: 72in.
Step 6: Install Posts
Parts Required
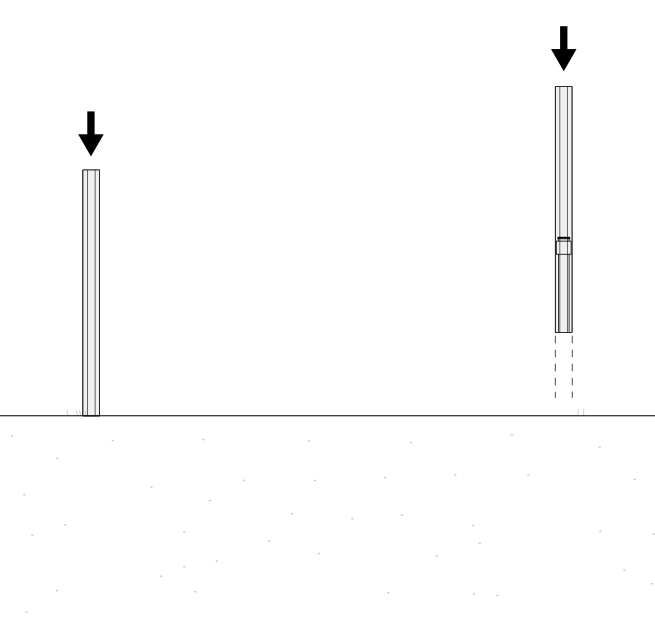
P3 x1
Place your post over your pipe.
Step 7a: Set Brackets on Slopes
Parts Required
A x1 B x2
If your posts are on flat ground, proceed to Step 7b.
If your ground is sloped, identify the post that is on higher ground. Secure your bracket (A) as close to the ground as possible against the higher post. Use your rail to ensure the bracket on the lower elevation post is level with the first bracket.
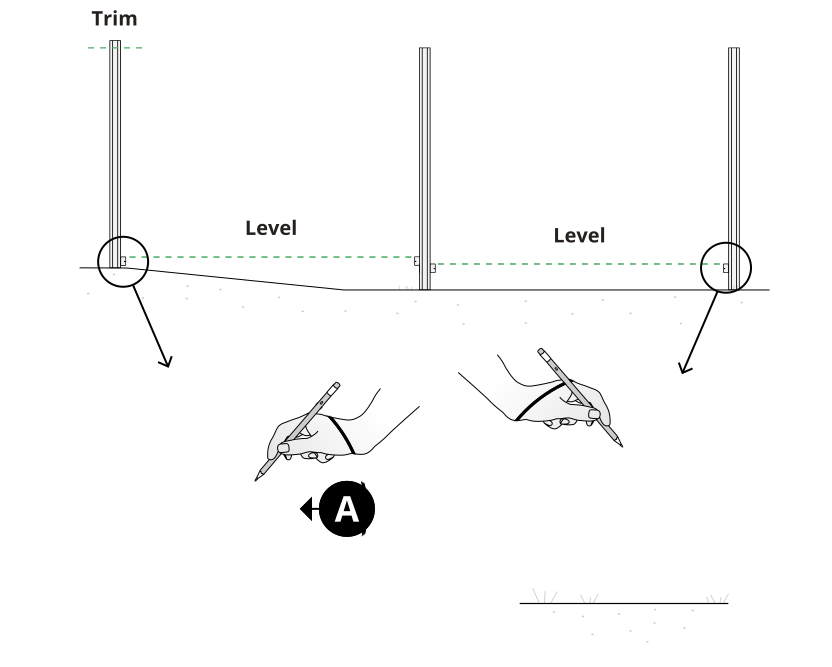
Step 7b: Install First Bracket
Parts Required
A x1 B x2
Set your bracket (A) within the grooves on your post. Measure 2in from the ground and mark your first post — or stack both brackets together to mark it instead. Secure the bracket with (2) ½in hex screws (B) using the included hex bit.
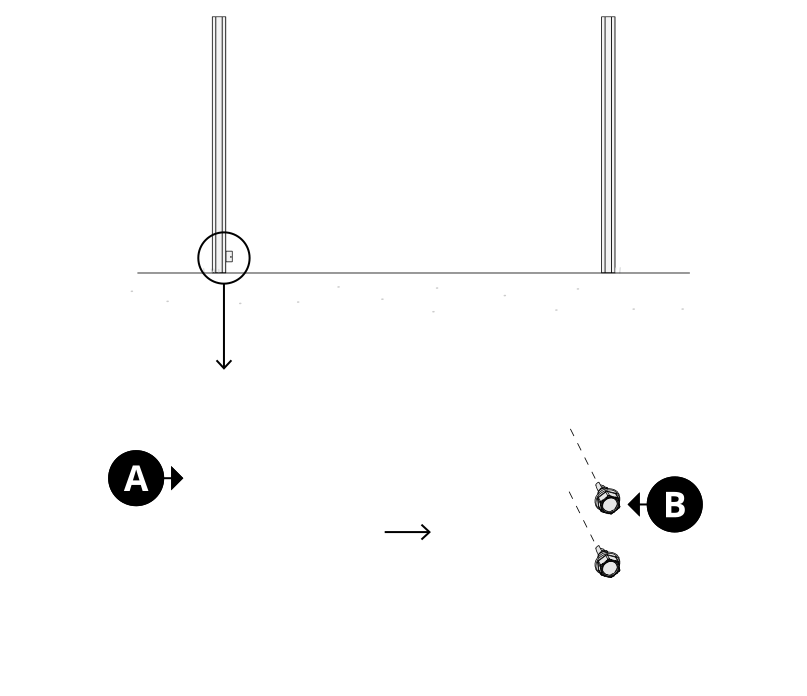
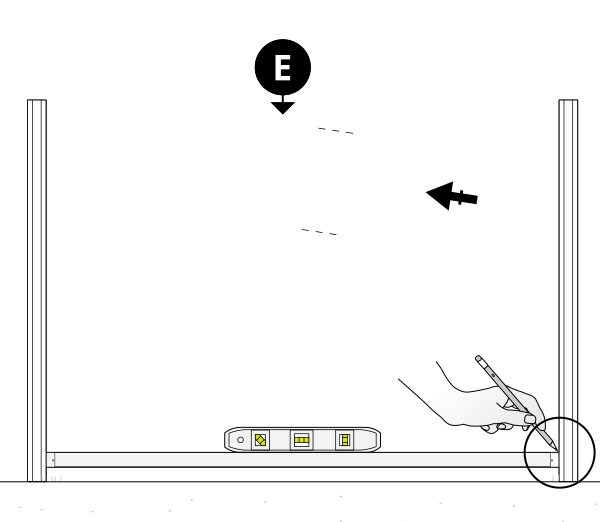
Step 8: Mark Second Bracket
Parts Required
A x1 E x1
Without driving screws, place a rail bracket (A) over the bottom rail (E). Using a level, mark the location of the second bracket, then remove the rail.
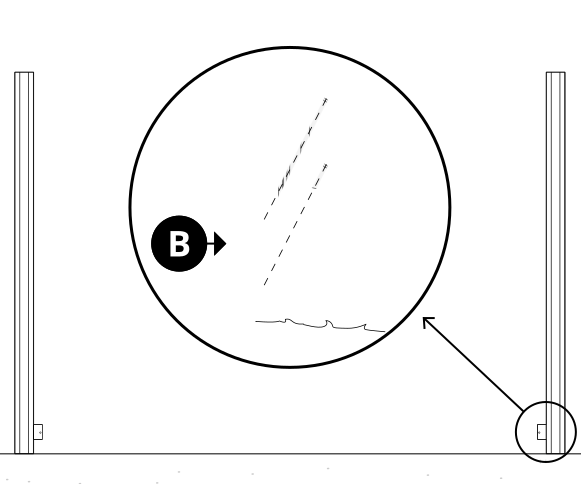
Step 9: Install Second Bracket
Parts Required
A x1 B x2
Install the bracket (A) to the post at your marked location using (2) ½in hex screws (B).
Step 10: Install Bottom Rail
Parts Required
E x1 B x4
Secure the bottom rail (E) into both brackets using (4) ½in hex screws (B).
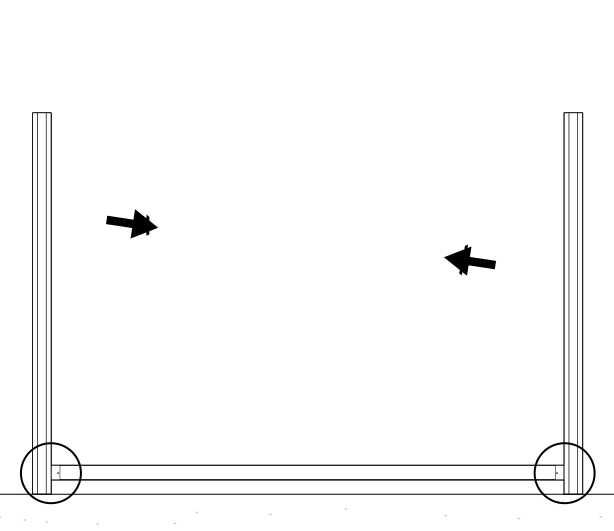
Step 11: Install C-Channels
Parts Required
D x2 C x6
Important: Before this step, swap out the hex head drill bit for the Phillips bit included in the bag for part (C). Keep the hex bit close — you'll resume using it shortly.

Align your C-channel (D) over your bottom bracket. Secure each C-channel with (3) ½in self-drilling Phillips screws (C), (6) total. The Phillips screws are self-drilling and can drive through aluminum with light pressure; a drill bit is also included in the screw bag for part (C).
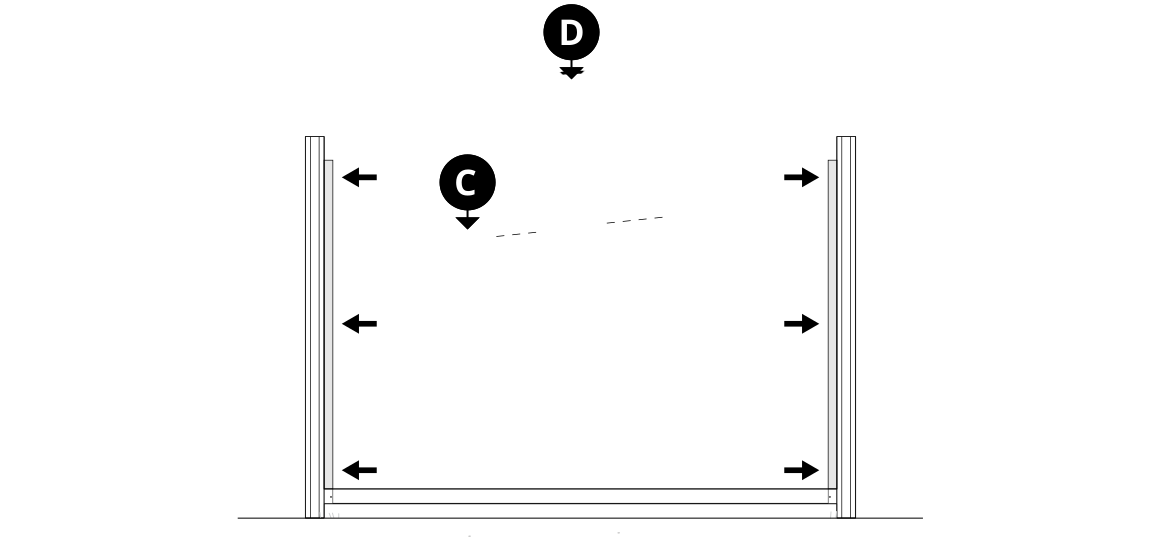
Step 12: Install Top Brackets
Parts Required
A x2 B x4
Align your top brackets (A) over your C-channels and secure with (4) ½in hex screws (B).
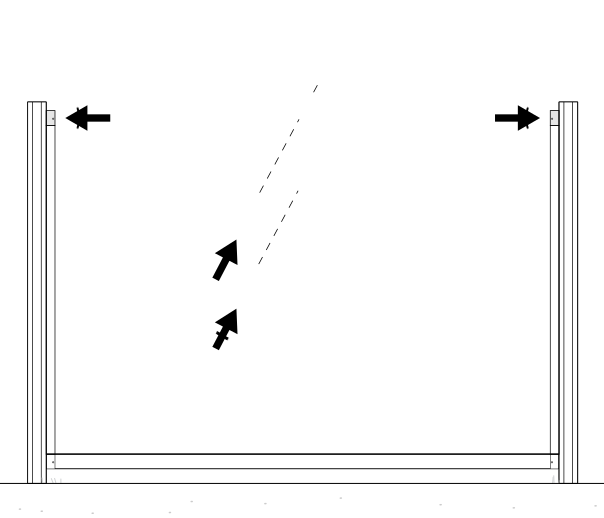
Step 13: Install Boards
Parts Required
F x3 G x1
Install your (3) tall privacy boards (F) by sliding them down through the top bracket and C-channel. Then slide the short privacy board (G) down until it interlocks with the other boards. Ensure the notch is facing upward. Posts may need to be pushed out slightly at the top to insert the boards.
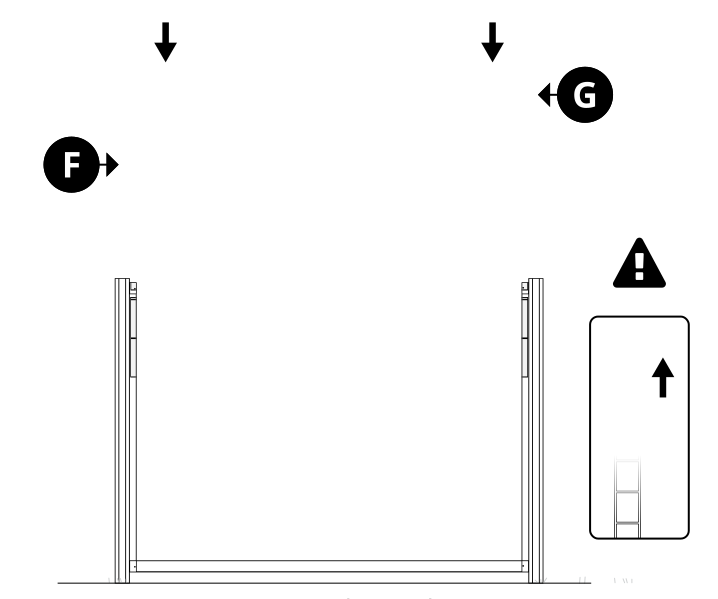
Step 14: Install Top Rail
Parts Required
E x1 B x4
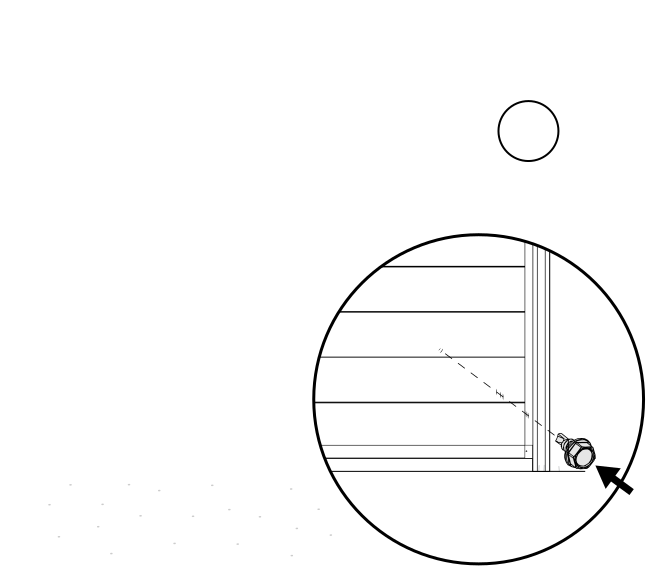
Ensure the rail goes to the back of the bracket. Apply downward force and secure the top rail (E) with (4) ½in hex screws (B).
Step 15: Install Post Caps
Parts Required
P1 x1
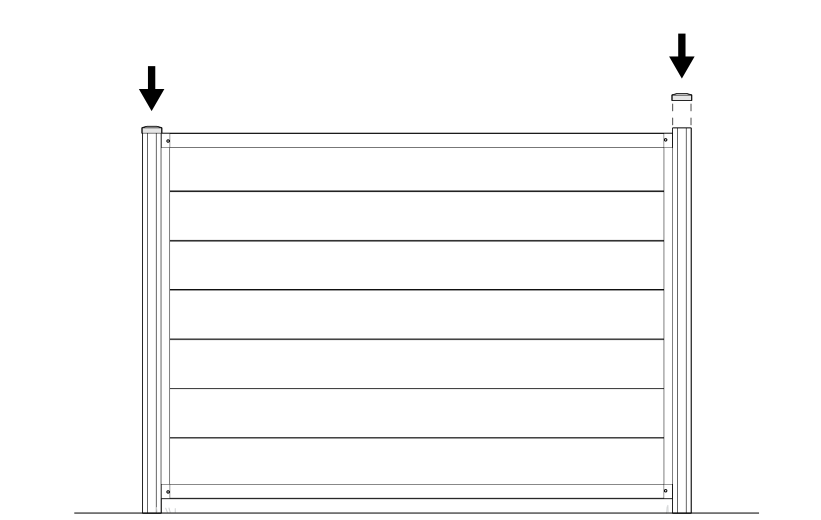
If needed, trim your posts with a fine-tooth blade, then place post caps (P1) on the posts to finish your panel.
Need Help?
- Email: hmmm@wambamfence.com
- Phone: 704-892-5222 or 877-778-5733
- Text: 704-892-5222
